

Course Outline
4. Reading books with the EasyReader App
Overview
Welcome to lesson 4 of 8 in the EasyReader Premium for Educators Course.
This lesson follows on from the previous lesson. In this lesson you will explore the reading options available in the EasyReader App. You will also discover ways you can navigate through a book and ways to adjust the text and audio settings to make reading a more comfortable experience.
Lesson Objectives
After studying this lesson, you will be able to:
- Accurately explain the options in the Reading screen
- Accurately explain the options in Text and Audio settings
- Correctly explain the steps to navigate Headings in a book
This lesson should take no more than twenty minutes to complete.
Introduction
When you open a book in EasyReader App, the book opens in the Reading screen. The Reading screen contains all the options you need to make reading a comfortable and productive experience.
Reader Screen
Before you open and begin reading your book, let’s take a moment to review the options available in the Reader. Here you will notice a difference between mobile devices and the layout presented in the Windows App. Please be assured the functionality is comparable between the different platforms.
Reader screen on iOS and Android
Controls shown top of screen, left to right include:
- Side menu.
Provides access to the key features including 'My Books' and libraries. - Search.
Lets you search for a word or phrase in text-based books. - Bookmarks.
Enables you to mark the current passage of text to provide easy access in the future. You can add as many bookmarks as you need. - Text settings.
Provides access to settings that let you change the font, text size, spacing, colours, and other text attributes. - Audio settings.
Provides access to settings that let you change the voice, reading speed, pronunciation and other audio parameters. - Book Options.
Provides settings to review information about the book, your position in the book, and a sleep timer. In addition, a "Switch to TTS Voice" option is available if you are reading a text-and-audio book and a "Switch to Text View" option is available if you are viewing a PDF file. It is recommended, where both an EPUB and PDF edition of a book exists, that you choose the EPUB edition for improved accessibility.
Controls shown at bottom of screen, left to right:
- Book navigation.
Provides access to settings that let you navigate to Headings, Pages and Bookmarks in a book. - Previous.
Lets you skip back through your book in increments you can set in 'Navigation settings'. - Play.
Lets you play and pause the reading voice. - Next.
Lets you skip forward through your book in the increments you set in 'Navigation settings'. - Navigation settings.
Lets you set how far the 'Previous' and 'Next' buttons skip in the book.
Reader screen on Windows
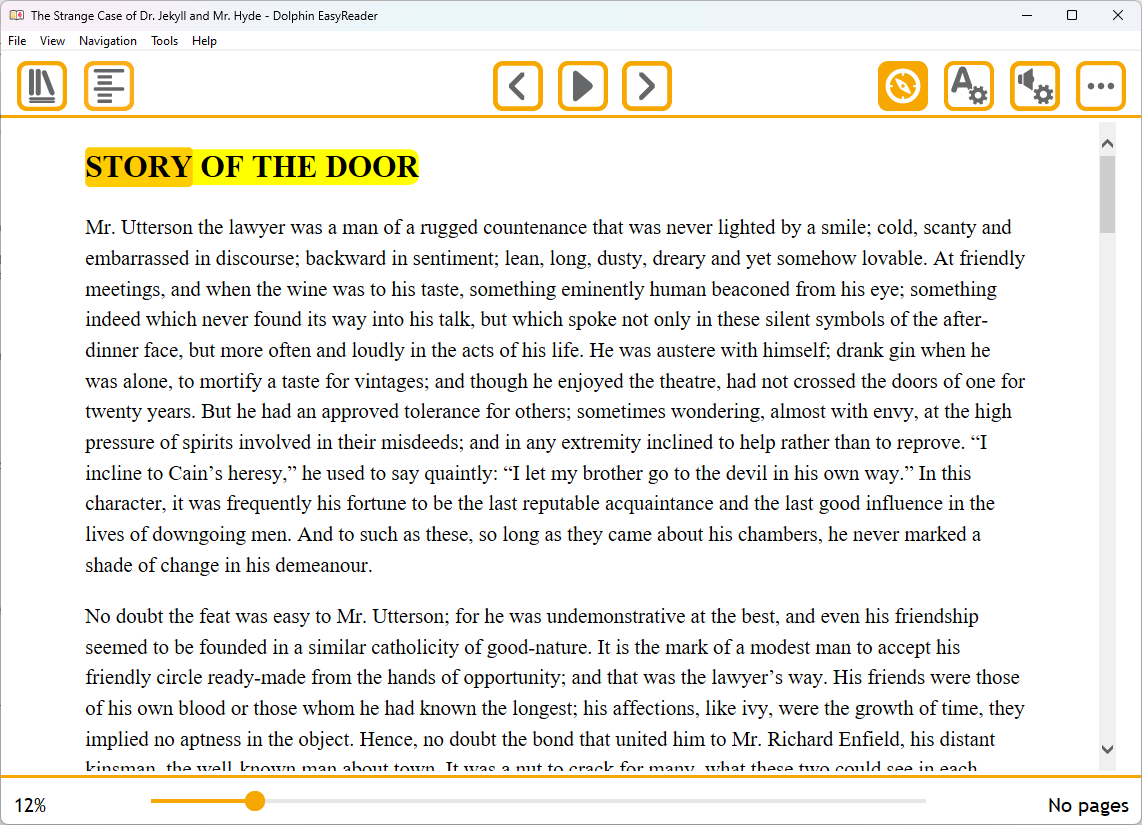
As previously mentioned, although the layout differs between mobile devices and Windows, the functionality remains comparable. You can access settings through either the menu bar, keyboard commands, or the toolbar options at the top of the screen.
If your student prefers to use the keyboard to navigate programs rather than the mouse, they can access the menu bar and toolbar using standard Windows keyboard commands including:
- Alt key to move focus to the menu bar and Arrow Keys to explore the menu options.
- F6 to move focus between the book and the toolbar.
- TAB and SHIFT + TAB to move focus between the toolbar items.
It is also worth noting that EasyReader for Windows includes a wealth of keyboard commands to help students quickly navigate text and easily adjust their reading options. Here are just some of the popular keyboard commands available in EasyReader App.
|
Action |
Hot Key |
|---|---|
|
Play/Pause |
F5 or SPACEBAR |
|
Increase playback speed |
CTRL + RIGHT ARROW |
|
Decrease playback speed |
CTRL + LEFT ARROW |
|
Skip forward |
DOWN ARROW |
|
Skip backward |
UP ARROW |
|
Skip forward to next Heading |
H |
|
Skip back to previous Heading |
SHIFT + H |
|
Go to start |
HOME |
|
Go to end |
END |
|
Increase text size |
CTRL + PLUS |
|
Decrease text size |
CTRL + MINUS |
|
Reset text size to default |
CTRL + ZERO |
|
Show/Hide Text settings |
F7 |
|
Show/Hide Audio settings |
F8 |
|
Switch between PDF View and Text View when reading a PDF file |
F9 |
|
Switch between TTS Voice and Narrator Voice when reading a text-and-audio book |
F9 |
For a full list of keyboard commands, please see EasyReader Help.
Opening and navigating a Book
Now you have an understanding of the Reader screen, let’s now open your book and navigate its content. EasyReader App enables you to navigate by headings, pages, and search for text in a book. In the example that follows, you will learn how to navigate to the first heading in your downloaded book.
To do this:
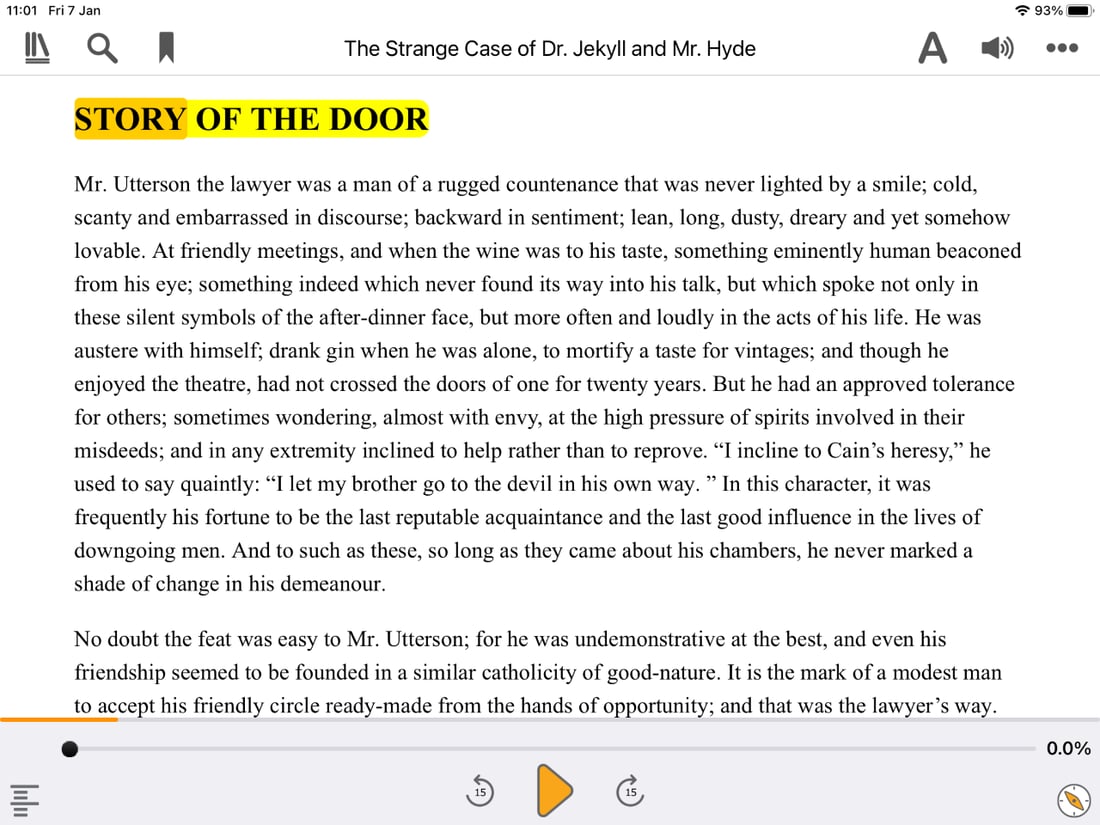
- From the "My Books" screen, open "The Strange Case of Dr. Jekyll and Mr. Hyde".
- Select the "Book navigation" button and choose the "Headings" tab. If you are using Windows, you can also open the "View" menu and choose "Headings".
- Select "STORY OF THE DOOR".
- Select the 'Play' button, and after a few seconds, select the "Pause" button to pause the reading.
Tip: You can press F5 to play and pause the playback of a book on a Windows computer. If you are using a Mac computer, you can control playback by pressing Option + Spacebar.
As an exercise, return to the 'My Books' screen and re-open the book again. When you re-open the book, you will find yourself positioned at the last place you paused your reading.
- With EasyReader Premium, your reading position is synchronised across the other devices you choose to use. This ensures you can continue to read anywhere and learn anywhere, on any of your devices.
Adjusting text and audio settings
With your book open, let's take the opportunity to review some of the popular text and audio settings you can change to enhance your reading experience.
Text Settings
You can use the 'Text settings' options to adjust the style, layout and colours of the text in your book. Simply tap or click the 'Text settings' button to view the available options. If you are using Windows, you can also press F7 to open the 'Text settings' option.
Text Settings include:
- Text size.
Use this to increase and decrease the size of the text in your book. The text in the book will wrap when the size increases. Alternatively, you can adjust the size of the text while you are in the reading screen by using the pinch-to-zoom gesture. Or, if you are using Windows, use the keyboard command CTRL + PLUS and CTRL + MINUS. - Font.
Choose a font to display the text. You can choose from a variety of fonts including dyslexia-friendly fonts. - Margins, Line spacing and Letter spacing.
Use to change the appearance and layout of your text. - Use the "Show image description" button to control whether descriptions are shown in front of images in the text. Note that this feature applies only to particular text-only books formatted to the EPUB 3 specification.
- Use the 'Lines visible' to choose the number of lines you want to see at any particular time when you are reading. You can choose from 'All', '1 line', '3 lines' or '5 lines'. Lines you have chosen not to view will be covered with a black overlay.
Sentence highlighting will also be disabled when you restrict the viewing of lines. Please note that this feature is for text-only books and, if you are using an Android device, it requires you to download and use a Vocalizer synthesiser voice. - Theme
Use to choose a colour scheme. You can choose from specially designed dyslexia-friendly colour schemes and high-contrast colour schemes suitable for students with low vision.
If no theme is suitable, use the colour picker options to set your own text, background, sentence highlight and word highlight colours.
Audio Settings
You can use the 'Audio settings' options to adjust the voice, reading speed and pronunciation of your reading voice. Simply tap or click the 'Audio settings' button to view the available options. If you are using Windows, you can also press F8 to open the 'Audio settings' option.
Settings include:
- Voice rate
Adjust to alter the reading speed of the synthetic and human narrated output. - Voice
Use to choose an alternative human-sounding voice. With EasyReader Premium you can download a variety of high-quality human-sounding voices free-of-charge. - Voice settings
Choose to open further voice parameters including pitch, volume and pause duration. - Maths Settings.
Control how maths expressions are managed. You can change options such as language, verbosity, and speech style. To learn more, see EasyReader Help. - Add Voices
Add additional high-quality voices by selecting this option. You require an EasyReader Premium Subscription to add additional voices. - Pronunciation options
Use to change the pronunciation of words by the human-sounding voice. You can create multiple pronunciation lists, allowing you to produce lists that may be specific to a book, subject or voice. With EasyReader Premium, your Pronunciation Lists are synchronised across your devices. - Play on navigation
Select to make reading automatic following movement to a navigation point such as a chapter, page or bookmark. - Play sound on bookmark
Select to get an audible beep sound when speech encounters a bookmark.
The changes you make to Text and Audio settings apply to all the books you open.
- With EasyReader Premium, it is important to note that your key Text and Audio settings are only transferred to your second device during the first run of the EasyReader App on a new device. This is because devices have different screen sizes and audio options, so it makes the continuous transferring of settings disadvantageous.
Once you are happy with your audio and text settings, please close down EasyReader App. Then download, install and sign into EasyReader App on your second device and review the options that are synchronised.
If you do not have a second device, you can remove and reinstall the EasyReader App for a similar experience.
Summary
In this lesson you looked at the reading screen, familiarised yourself with the controls available on the screen, and worked through the text and audio settings which you can change to make your reading experience accessible, comfortable and productive.
You also learnt that book position is saved and synchronised between devices to ensure you can continue to read from the place you left off, on any device you sign in to. You also learnt that key text and audio settings are only synchronised on the first run on a new device.
In the next lesson, you'll be taking a closer look at the management of bookmarks, and how you can create your own study notes.
Quiz
There are three sample quiz questions below, based on this lesson.
Please spend no more than five minutes considering the answers to these questions.
- The main options available in the reading screen is comparable between the different editions of EasyReader App. Is this statement true?
- The speed you listen to a human narrated book cannot be adjusted. Is this statement true?
- You cannot adjust the time interval the Previous and Next buttons navigate in a book. Is this statement true?
End of lesson
Thank you for completing this lesson. Please click the 'Next Lesson' option below to continue to the next part of the course.
If you want to revisit a previous lesson, please scroll to the top of this page and click the lesson you wish to visit in the Course Outline menu.
But before you move on, here are the answers to the quiz questions:
- True.
- False.
- False.
