
Course Outline
3. Screen Enhancements
Overview
Welcome to lesson 3 of 9 in the Assessor's Course. This lesson will introduce you to the features in SuperNova that make your viewing of the screen comfortable and productive.
Lesson objectives
After studying this lesson, you will be able to:
- Correctly name three SuperNova features, which work independently from magnification, which are designed to make viewing the screen a more comfortable experience for users with a sight impairment.
- Explain, without error, the steps you follow to implement SuperNova’s screen viewing options and accurately describe the advanced mouse pointer size adjustment option.
This lesson should take no more than twenty minutes to complete.
This lesson applies to:
- SuperNova Magnifier.
- SuperNova Magnifier & Speech.
- SuperNova Magnifier & Screen Reader.
Screen enhancements
Alongside SuperNova's magnification and text smoothing capabilities, SuperNova enables you to:
- Change your screen colours.
- Highlight the position of the current focus on the screen.
- Enlarge and alter the colour of your mouse pointer on the screen.
The use of these features can help you reduce any fatigue or eye strain you may experience when viewing a computer screen, giving you a much more productive day.
You may want to use these features if you find you have difficulty with colour contrast such as black text on a white background, difficulty seeing the position of the cursor in a document or tracking the white mouse pointer on a predominately white screen. You may also find some applications or websites using greyscale or neutral colour palettes with poor contrast that inevitably makes them difficult to read.
Colour schemes
SuperNova offers over twenty-five preset colour schemes. Schemes include High Contrast Color Schemes and schemes for specific color vision deficiencies including:
- Protanopia (problems with reds)
- Deuteranopia (problems with greens)
- Tritanopia (problems with blues)
You select your Colour Scheme through the SuperNova Control Panel. Once selected, you can toggle your Colour Scheme on and off through the SuperNova Control Panel, with the use of a keyboard command or with a touchscreen gesture.
| Function | Desktop - Default NumPad Set | Laptop - Universal Set |
|---|---|---|
| Toggle Colour Scheme | LEFT CONTROL + NUMPAD 0 | ALT + SHIFT + C |
Layered hotkey mode
To toggle Colour Schemes on off using Layered hotkey mode: Press CAPS LOCK + SPACEBAR, followed by M to enter the Magnification layer. On pressing C you are automatically exited from Layered Hotkey Mode.
Using touchscreen gestures:
- 3-finger single-tap to display the SuperNova Touch Bar.
- Tap the Colour Schemes button.
- Repeat the 3-finger single-tap to hide the SuperNova Touch Bar.
If no preset Colour Scheme is suitable, you can create your own Custom Colour Scheme. You can configure your colour settings based on Classic settings that include Contrast and Brightness or create a scheme based on tint levels, one-to-one colour replacements or through modifying the existing red, blue or green colour filters.
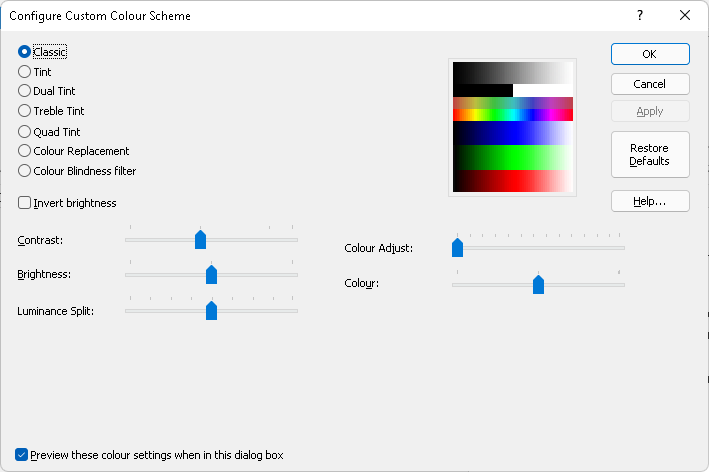
The SuperNova Colour Scheme applies to the whole screen and functions independent to your magnification size.
Note: If you are using multiple monitors, you can also configure SuperNova to apply the Colour Scheme to your current monitor or to all your monitors. SuperNova considers the screen that is showing the mouse pointer as the current monitor.
Highlighting Schemes
SuperNova Highlighting enables you to emphasise the position of the focus on the screen by placing a colourful border around the focus. The ability to easily see and track the focus on the screen ensures you keep oriented on the screen and are less likely to suffer from eye-strain and fatigue as you work.
Highlighting can appear permanent, controlled with a hotkey or dynamically change depending on your use of the keyboard and mouse for each of the different types of focus. Types of focus include Mouse, Cursor, Line, Focus and the SuperNova screen reading features of Read From Here and Dolphin cursor.
There are seven preset Highlighting schemes. These are:
- Default.
- Large Red.
- Large Red with Mouse.
- Large Blue.
- Large Blue with Mouse.
- Large Yellow.
- Large Yellow with Mouse.
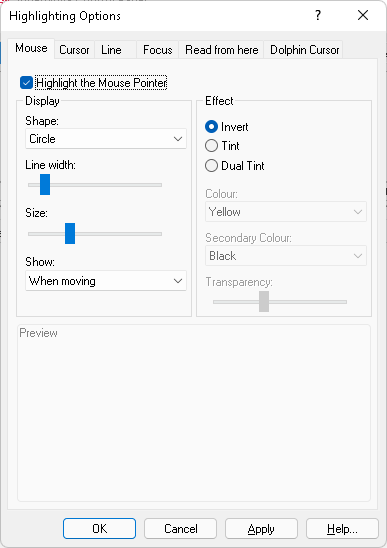
If you find that the preset Schemes do not meet your requirements, then it is possible for you to create your own custom Highlighting Scheme. You can determine the shape, colour, size, transparency, when it should appear and the types of focus that require highlighting within your own custom scheme. For example, if you prefer to use a mouse with a crosshair, you can choose your preferred colour, thickness and transparency from the available options.
Note: If you are using multiple monitors, you can also configure SuperNova to apply the Highlighting Colour Scheme to your current monitor or to all your monitors. SuperNova considers the screen that is showing the mouse pointer as the current monitor.
Highlighting is also available with Dolphin ScreenReader. Highlighting is provided with Dolphin ScreenReader to help trainers track the movement of your focus on the screen. This enables trainers to be confident that they are correctly directing you to the next step and that the steps you are following are producing the correct outcome.
Mouse Pointer Schemes
SuperNova Mouse Pointer Schemes emphasises the position of the mouse pointer on the screen by making it larger and more colourful. As with the previous options, having a more visible pointer on your screen can help to reduce potential eye-strain and fatigue as you work.
There are three preset Schemes:
- Large Red.
- Large White.
- Large Yellow.
Plus a Windows Standard Scheme which, when selected, reverts you back to using your current Windows mouse pointer scheme.
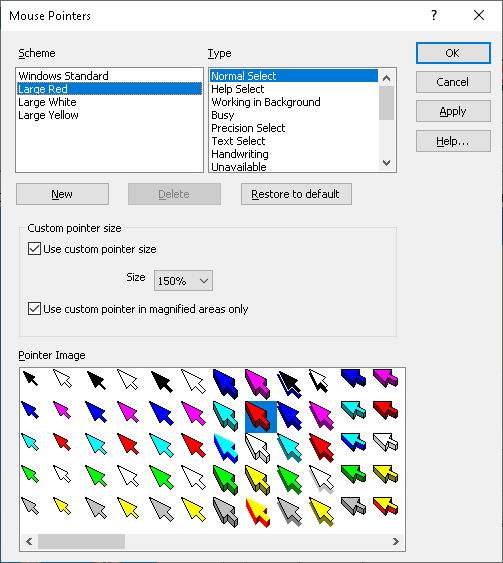
Through the "Mouse Pointers" dialog box you can also customize an existing Scheme or create your own Mouse Pointer Scheme. You can do this by choosing pointers from the wide range of pointers that come with SuperNova.
You can also choose to further enhance the size of your pointer in this dialog box. You can choose to use a fixed pointer size, which means it will not alter in size when you change your magnification, or choose a size relative to your magnification level, which means your pointer size will adjust relative to your size of magnification.
Tip: SuperNova Magnifier & Speech and SuperNova Magnifier & Screen Reader also supports the announcement of text under the mouse pointer. You can control the length of the delay before the text is announced and whether character, line, paragraph or object is to be announced. You can find these options in the SuperNova Control Panel, "General Announcements" dialog box (ALT + S, G). You can toggle the announcement of text under the mouse pointer by pressing CAPS LOCK + M or by using Layered hotkeys by pressing CAPS LOCK + SPACEBAR, S, M.
Summary
This concludes this lesson. In this lesson you learnt about the three key ways you can make the viewing of the computer screen more comfortable. A more comfortable viewing experience will ensure less eye-strain and fatigue, all leading to a more productive outcome.
You can choose to enable or disable the features you require, choose from a range of preset Schemes or tailor the Colours, Highlighting and Mouse Pointer Schemes to your own requirements.
In the next lesson you'll be looking at the SuperNova and Dolphin ScreenReader speech options and the range of Speak keys available within each edition.
Quiz
Below are three sample quiz questions based on this lesson. Please spend no more than five minutes considering the answers to these questions.
- SuperNova includes over twenty-five preset Colour Schemes. Is this statement true?
- SuperNova Highlighting is restricted to the seven preset schemes. Is this statement true?
- You cannot prevent your mouse pointer increasing in size when you increase your magnification size. Is this statement true?
End of lesson
Thank you for completing this lesson. Please select 'Next Lesson' below to continue to the next part of this course.
To revisit a previous lesson, please scroll to the top of this page and choose the lesson from the Course Outline menu.
But before you move on, here are the answers to the quiz questions:
- True.
- False.
- False.
