
Course Outline
4. Hooked Areas
Overview
Welcome to lesson 4 of 19 in the Trainer’s Course. This lesson will introduce you to the creation and management of static magnified windows called Hooked Areas, which enable you to keep important regions of the screen visible, irrespective of your magnification size. This lesson will also discuss the limitations of Hooked Areas and offer best practice for their use.
Lesson objectives
After studying this lesson, you will be able to:
- Clearly explain the purpose of Hooked Areas and give three examples where they may be of benefit to a user of magnification.
- Accurately describe the steps you follow to create, modify and manage Hooked Areas using keyboard commands.
- Correctly state two issues users should be aware of when using Hooked Areas and the methods they can adopt to redress these issues.
This lesson should take no more than thirty minutes to complete.
This lesson applies to:
- SuperNova Magnifier.
- SuperNova Magnifier & Speech.
- SuperNova Magnifier & Screen Reader.
Definition
A Hooked Area is a static magnified window created to keep a part of an application's window permanently in view. This lets you see important information that may frequently change as you use your application. Here are three examples where Hooked Areas are in use.
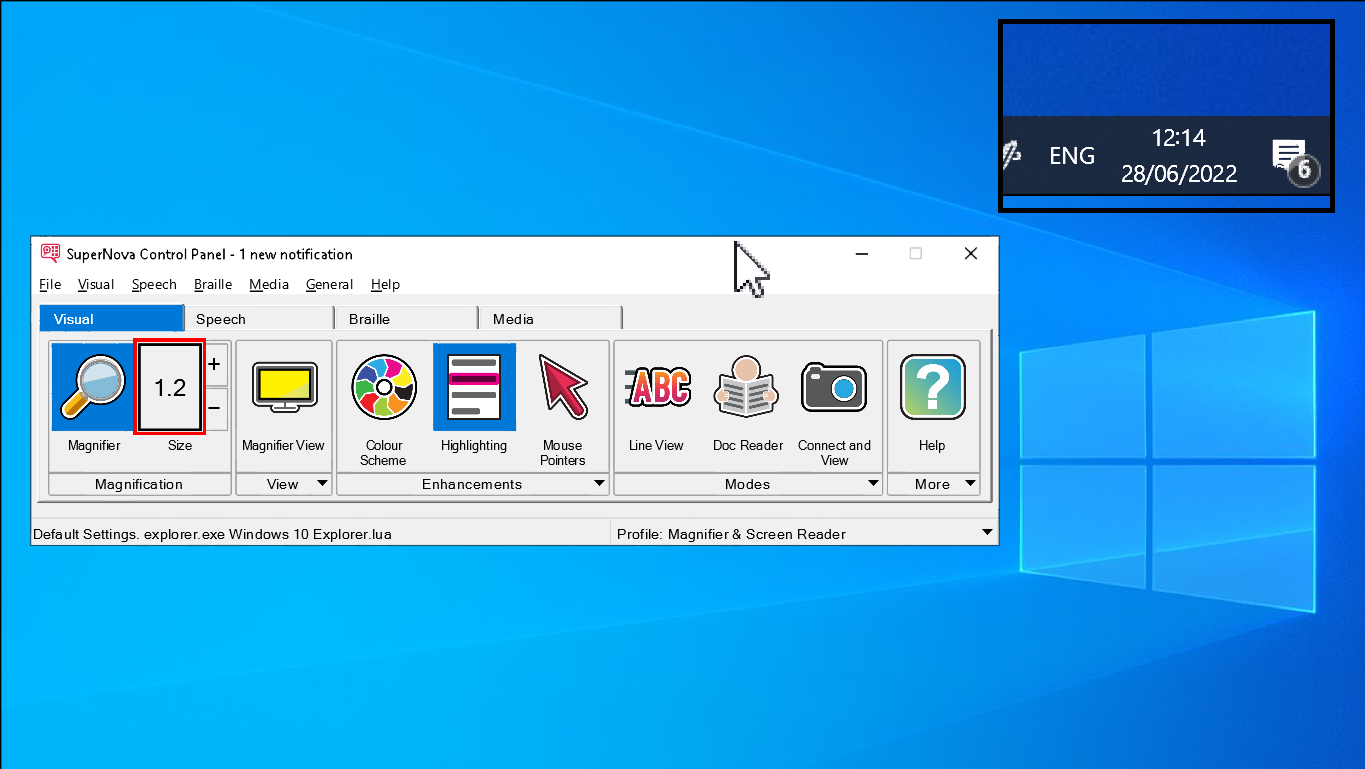
Example 1:
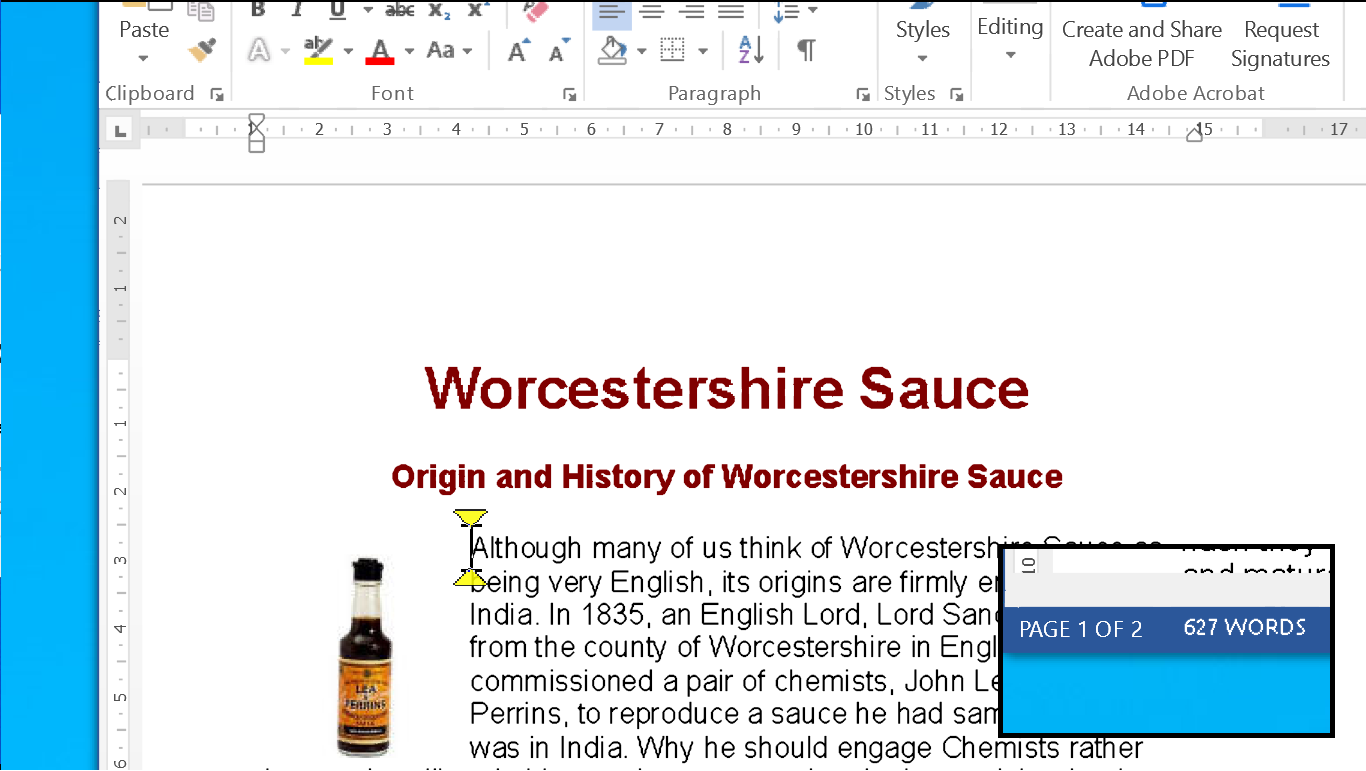
Example 2:
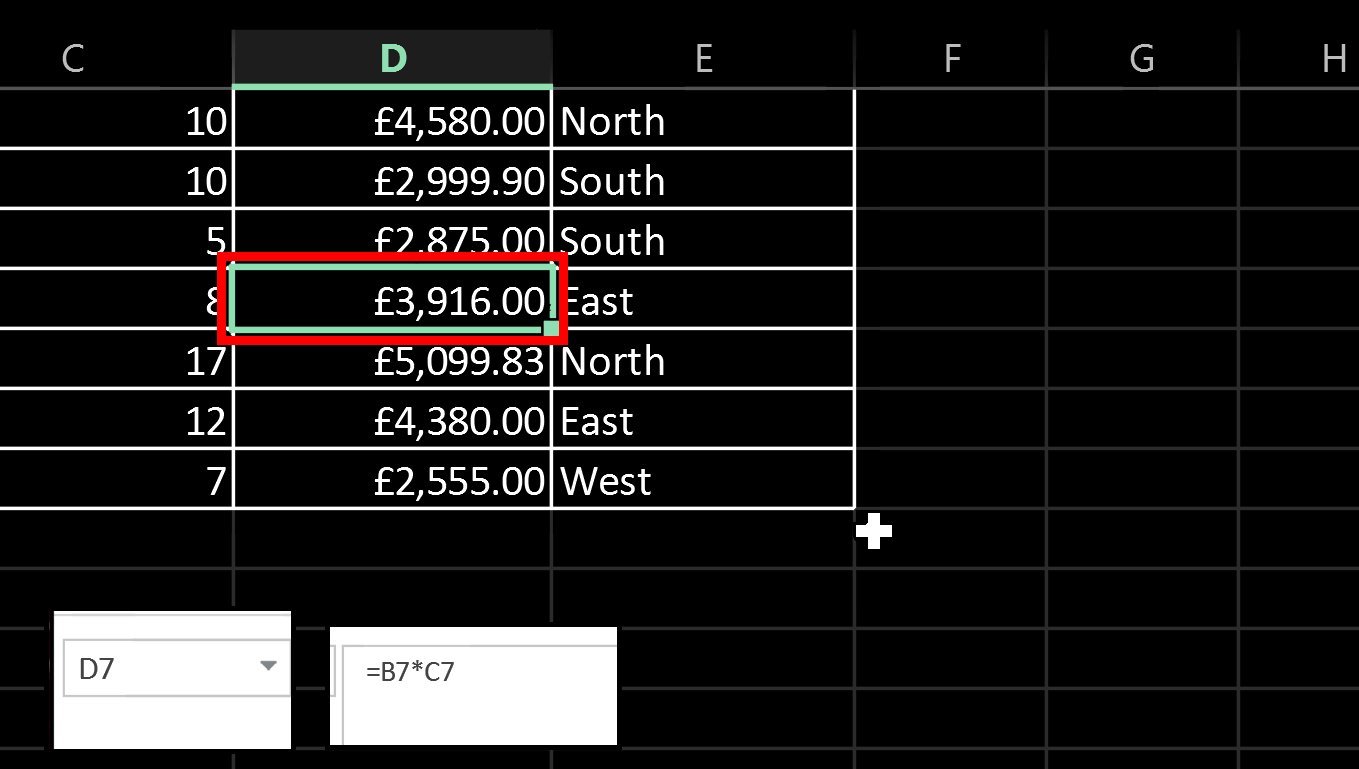
Example 3:
Hooked Areas are independent to your Magnifier View. They can have a different magnification size and continue to be visible after you turn off your magnification.
Creating a Hooked Area using the keyboard
As the video clip demonstrated, the process of creating Hooked Areas is relatively simple, requiring only a few keyboard commands.
Here is a recap on the steps you need to follow:
- If using the Desktop Hot Key set, press LEFT CONTROL + NUMPAD 5 to create a new Hooked Area. If using the Laptop Hot Key set, press LEFT CONTROL + LEFT SHIFT + ALT + H. You will be placed in Magnification Modification Mode, with a flashing border around the Hooked Area.
- Use the Arrow Keys to position the Hooked Area on the screen. You can also do this by holding down the Z key and move the mouse.
- Press LEFT CONTROL + Arrow Keys to adjust the size of the Hooked Area. You can also do this by holding down the X key and move the mouse.
- Press LEFT SHIFT + Arrow Keys to alter the content inside the Hooked Area. You can also do this by holding down the C key and move the mouse.
- Use the Increase and Decrease Magnification size keyboard commands to change the size of the content within the Hooked Area, for example, by using CAPS LOCK + MOUSE WHEEL UP or DOWN.
- Press ESCAPE to save and exit Magnification Modification Mode.
If, after exiting, you find your Hooked Area has disappeared, then press the Toggle Hooked Areas hot key. This keyboard command toggles between showing and hiding the Hooked Areas on the screen.
| Function | Desktop - Default NumPad Set | Laptop - Universal Set |
|---|---|---|
| Toggle Hooked Areas | LEFT CONTROL + NUMPAD 3 | LEFT CONTROL + F5 |
Initially, you may find that it is only through the repeated adjustment of size, position and content that gets you to your desired result. Over time, and with practice, you will find that the task will become quicker and easier to complete.
Modifying existing Hooked Areas using the keyboard
Hooked Areas are static magnified windows projecting whatever is visible at the designated pixel position on the screen. A Hooked Area is not anchored to the object that has focus and will not adjust to accommodate changes to an application’s layout or screen resolution. For this reason, you may need to occasionally adjust a Hooked Area or remove it completely.
To do this:
- If using the Desktop Hot Key set, press LEFT CONTROL + NUMPAD 6. If using the Laptop Hot Key set, press LEFT CONTROL + F6. This will enter Magnification Modification Mode with the Hooked Area that has focus appearing with a flashing border.
- If you have more than one Hooked Area, then continue to press the hot key until the Hooked Area you wish to modify or delete has focus.
- You can use the previously discussed size, position and content keyboard commands to modify the existing Hooked Area. When done, you can press ESCAPE to save your changes and exit. Alternatively, you can press the DELETE key to remove the Hooked Area.
When the Hooked Area is deleted the next Hooked Area gains focus. If no Hooked Areas remain, then SuperNova automatically exits Magnification Modification Mode.
Create a Hooked Area using the mouse
As well as using keyboard commands to create Hooked Areas, you can also create them using the mouse pointer. The steps you need to follow to create and manage Hooked Areas through this process is documented in the SuperNova Manual.
Tip: Most users that wish to create Hooked Areas are using higher magnification sizes and, for this reason, they are likely to prefer to follow keyboard commands to complete the task.
Considerations and limitations
If you are primarily a magnification user, then Hooked Areas provide a wonderful way to monitor a region of the screen that may not always be visible when using magnification.
But there are two considerations:
- If you require Hooked Areas in multiple applications, the best approach is to create an Application Settings file prior to creating your Hooked Area. This enables you to tie your Hooked Area to the application, meaning when you switch between your applications, your Hooked Areas will automatically appear and disappear as required. Application Settings files are discussed in more detail later in this course.
- If you also use speech, you may find a SuperNova hotkey providing an alternative solution, for example, instead of creating a Hooked Area for the system tray clock you could use the speak date and time hotkey.
Exercises
Please complete Exercise 4 in the SuperNova for Trainers Workbook.
If you have not downloaded this supplementary document, please click here to download the SuperNova for Trainers Workbook.
Summary
In this lesson you learnt about the creation, modification and deletion of Visual Hooked Areas. You also learnt that they suit a static environment, that their use within multiple apps benefits from the support of SuperNova Application Settings files and that sometimes the use of screen reading hotkeys may provide an alternative solution.
In the next lesson you'll be looking at the ways you can further enhance your viewing of the computer screen with colour schemes, highlighting and alternative mouse pointers.
Quiz
Below are three sample quiz questions based on this lesson. Please spend no more than five minutes considering the answers to these questions.
- The Hooked Areas you create will disappear when you turn off magnification. Is this statement true?
- A flashing border around a Hooked Area indicates you are in Magnification Modification Mode, enabling you to modify its size, position and content on the screen. Is this statement true?
- Hooked Areas work best when the position and layout of your application is static on the screen. Is this statement true?
End of lesson
Thank you for completing this lesson. Please select 'Next Lesson' below to continue to the next part of this course.
To revisit a previous lesson, please scroll to the top of this page and choose the lesson from the Course Outline menu.
But before you move on, here are the answers to the quiz questions:
- False.
- True.
- True.
