
Available Lessons
Magnification
Reading time: 7 minutes.
Video
Adjusting magnification
You can increase magnification from 1.2x to 64x with SuperNova. You can adjust magnification using controls in the SuperNova Control Panel, using keyboard commands, and using touchscreen gestures.
| Function | Desktop - Default NumPad Set | Laptop - Universal Set |
|---|---|---|
| Toggle magnification | LEFT CONTROL + NUMPAD ENTER | ALT + 0 |
| Increase magnification |
LEFT CONTROL + NUMPAD PLUS or CAPS LOCK + MOUSE WHEEL UP |
ALT + EQUALS or CAPS LOCK + MOUSE WHEEL UP |
| Decrease magnification |
LEFT CONTROL + NUMPAD MINUS or CAPS LOCK + MOUSE WHEEL DOWN |
ALT + DASH or CAPS LOCK + MOUSE WHEEL DOWN |
Touchscreen gestures
- Toggle magnification on or off by doing a 3-finger double-tap.
- Increase magnification by doing a 2-finger stretch.
- Decrease magnification by doing a 2-finger pinch.
Note: If you are using multiple monitors, you can configure SuperNova to either adjust the size of magnification on your current monitor or across all your monitors. SuperNova considers the current monitor as the one that is showing your mouse pointer.
Exploring the desktop
You can explore your desktop in several ways:
- By moving the mouse pointer.
- By sliding a finger or using a flick gesture on a touchscreen.
- By using Panning Mode.
SuperNova's Panning Mode allows you to move the magnified window around the screen with keyboard commands, without causing the application's focus to change. You may find this method especially helpful if you use higher magnification sizes because it provides a straight and constant movement that is easy to follow.
You can start panning in a particular direction by holding down the RIGHT CONTROL key and tapping an Arrow Key. You can speed up movement by continuing to tap the Arrow Key and slow down movement by tapping the opposite Arrow Key. When you release the RIGHT CONTROL key, panning stops.
SuperNova also includes other ways to explore the desktop with keyboard commands. These include Move, Move To and Jump commands. You can learn more about these options in the SuperNova Manual.
Tip: With SuperNova Version 23.0, you can lock the mouse movement horizontally or vertically using the SHIFT key. Locking movement ensures smooth mouse panning, making reading tables and documents more comfortable at higher magnification sizes. You can enable this option in the "Tracking" page of the "Visual Advanced Options" dialog box (ALT + V, A).

Alternative viewing modes
By default, SuperNova's magnified window fills your screen. This is called "Full Screen" magnification and is the most popular way to view the magnified window on a computer screen.
Tip: You can locate and reposition your magnified area in relation to the unmagnified screen by using "Overview Mode". By default, this mode shows your magnified area on the screen as an inverted region. You can toggle "Overview Mode" on and off with LEFT CONTROL + BACKSLASH.
You can also view the magnified window in the following ways:
- Fixed Window.
This view shows the magnified region of the desktop in a static window. You can set the size and position of the window on the screen. - Magnifying Glass.
This view is similar to the Fixed Window View, except the Magnifying Glass is not static on the screen. Instead, the magnified window follows the mouse pointer and the focus, behaving like holding a magnifying glass to the screen. You can set the size of the window. - Resizing Glass.
This view behaves like the Magnifying Glass except that the magnified window will automatically resize to accommodate the current focus. This view is useful if you prefer to use the keyboard to navigate windows, like to view an unmagnified screen and occasionally adjust the size of magnification. - Split Screen.
This view splits the screen into two regions: a magnified window and an unmagnified window. The magnified window can appear at the top, bottom, left or right side of the screen and you can adjust the position of the split.
To cycle through the View modes, press LEFT CONTROL + NUMPAD 7 or, if you are using the Laptop Universal Hotkey Set, press LEFT SHIFT + ALT + M.
Enhancing text and images on the screen
SuperNova provides font and image smoothing capabilities. This aims to redress the issue of jaggy pixelated text and images that appear when you use magnification.
You can set font and image smoothing to None, Standard, and Truefonts. You make this selection in the "Visual Advanced Options" dialog box (ALT + V, A).
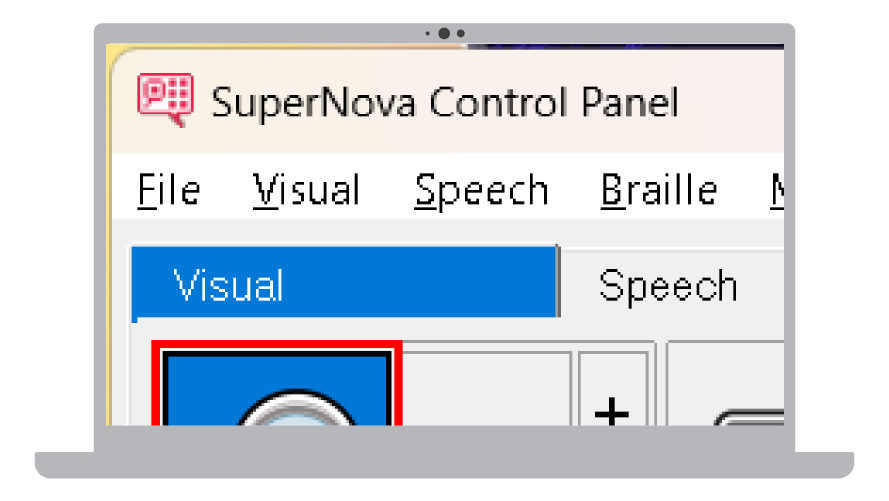
Example with No Font Smoothing
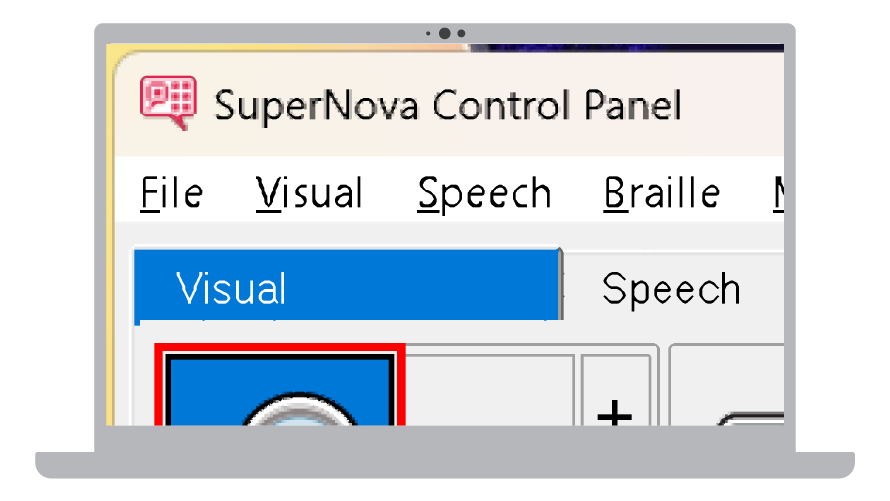
Example with Standard Font Smoothing
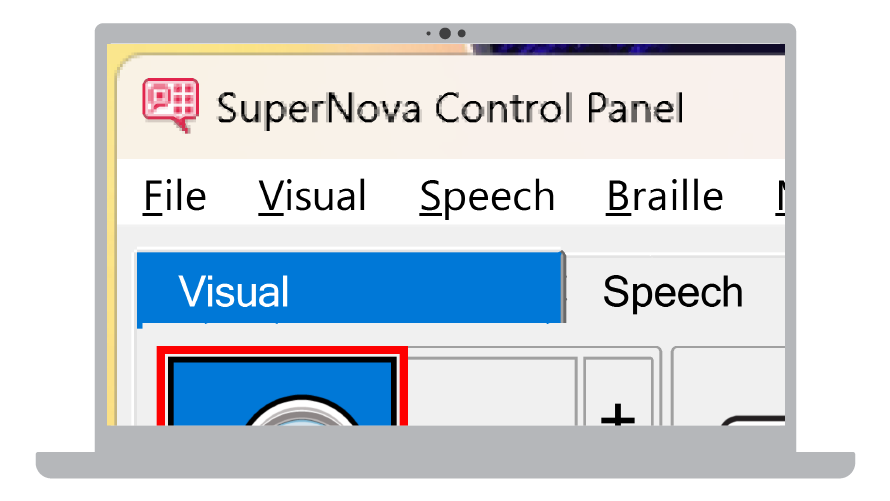
Example with Truefonts
Truefonts works in popular Windows apps such as File Explorer, NotePad, and WordPad, and the latest versions of Microsoft Office.
In the apps where Truefonts is not available, SuperNova will automatically switch to using Standard font smoothing.
In cases where you are using Standard font smoothing and you find text difficult to view, you may find increasing the zoom factor within the app helps to improve the clarity. The larger the font the less pixelated the text will appear because you will be requiring less magnification.
If you continue to find viewing the text on the screen difficult, you can enhance the text and image further by applying boldness to the text. Adding boldness to text can make lightweight and spindly text on the screen appear more pronounced.
To do this:
- Open the SuperNova Control Panel.
- Open the "Visual" menu and select "Advanced options".
- Select the "Enhancement" tab.
- Select the "Truefonts Bold" check box to use boldness when using this font smoothing method.
- Select the "Standard Bold" check box to use boldness when using this font smoothing method.
- Select the "Low", "Medium", or "High" radio button to set the bold weight.
You may also find the "Sharpen" option useful. Sharpen enables you to sharpen images and text that is not rendered by Truefonts. If you turn on the "Sharpen" check box, SuperNova will sharpen the image by exaggerating the brightness difference along any edges on your screen, thus making those edges appear more pronounced.
You can manage the level of sharpening by adjusting the "Contrast" and "Size" sliders. You can learn more about these options in the SuperNova Manual.
